
Meet Primrose! My first custom of 2025, process explained, model horse custom
March 16, 2025
I am so exited to have finished my newest custom model horse! This is Primrose and she is exactly how I envisioned her. She is the sweetest and I'm so happy with her! But, her customization process was definitely a journey. I learned a lot from her, and I picked up things to improve on. So I thought I would go over her whole customization process and explain my thought process behind.
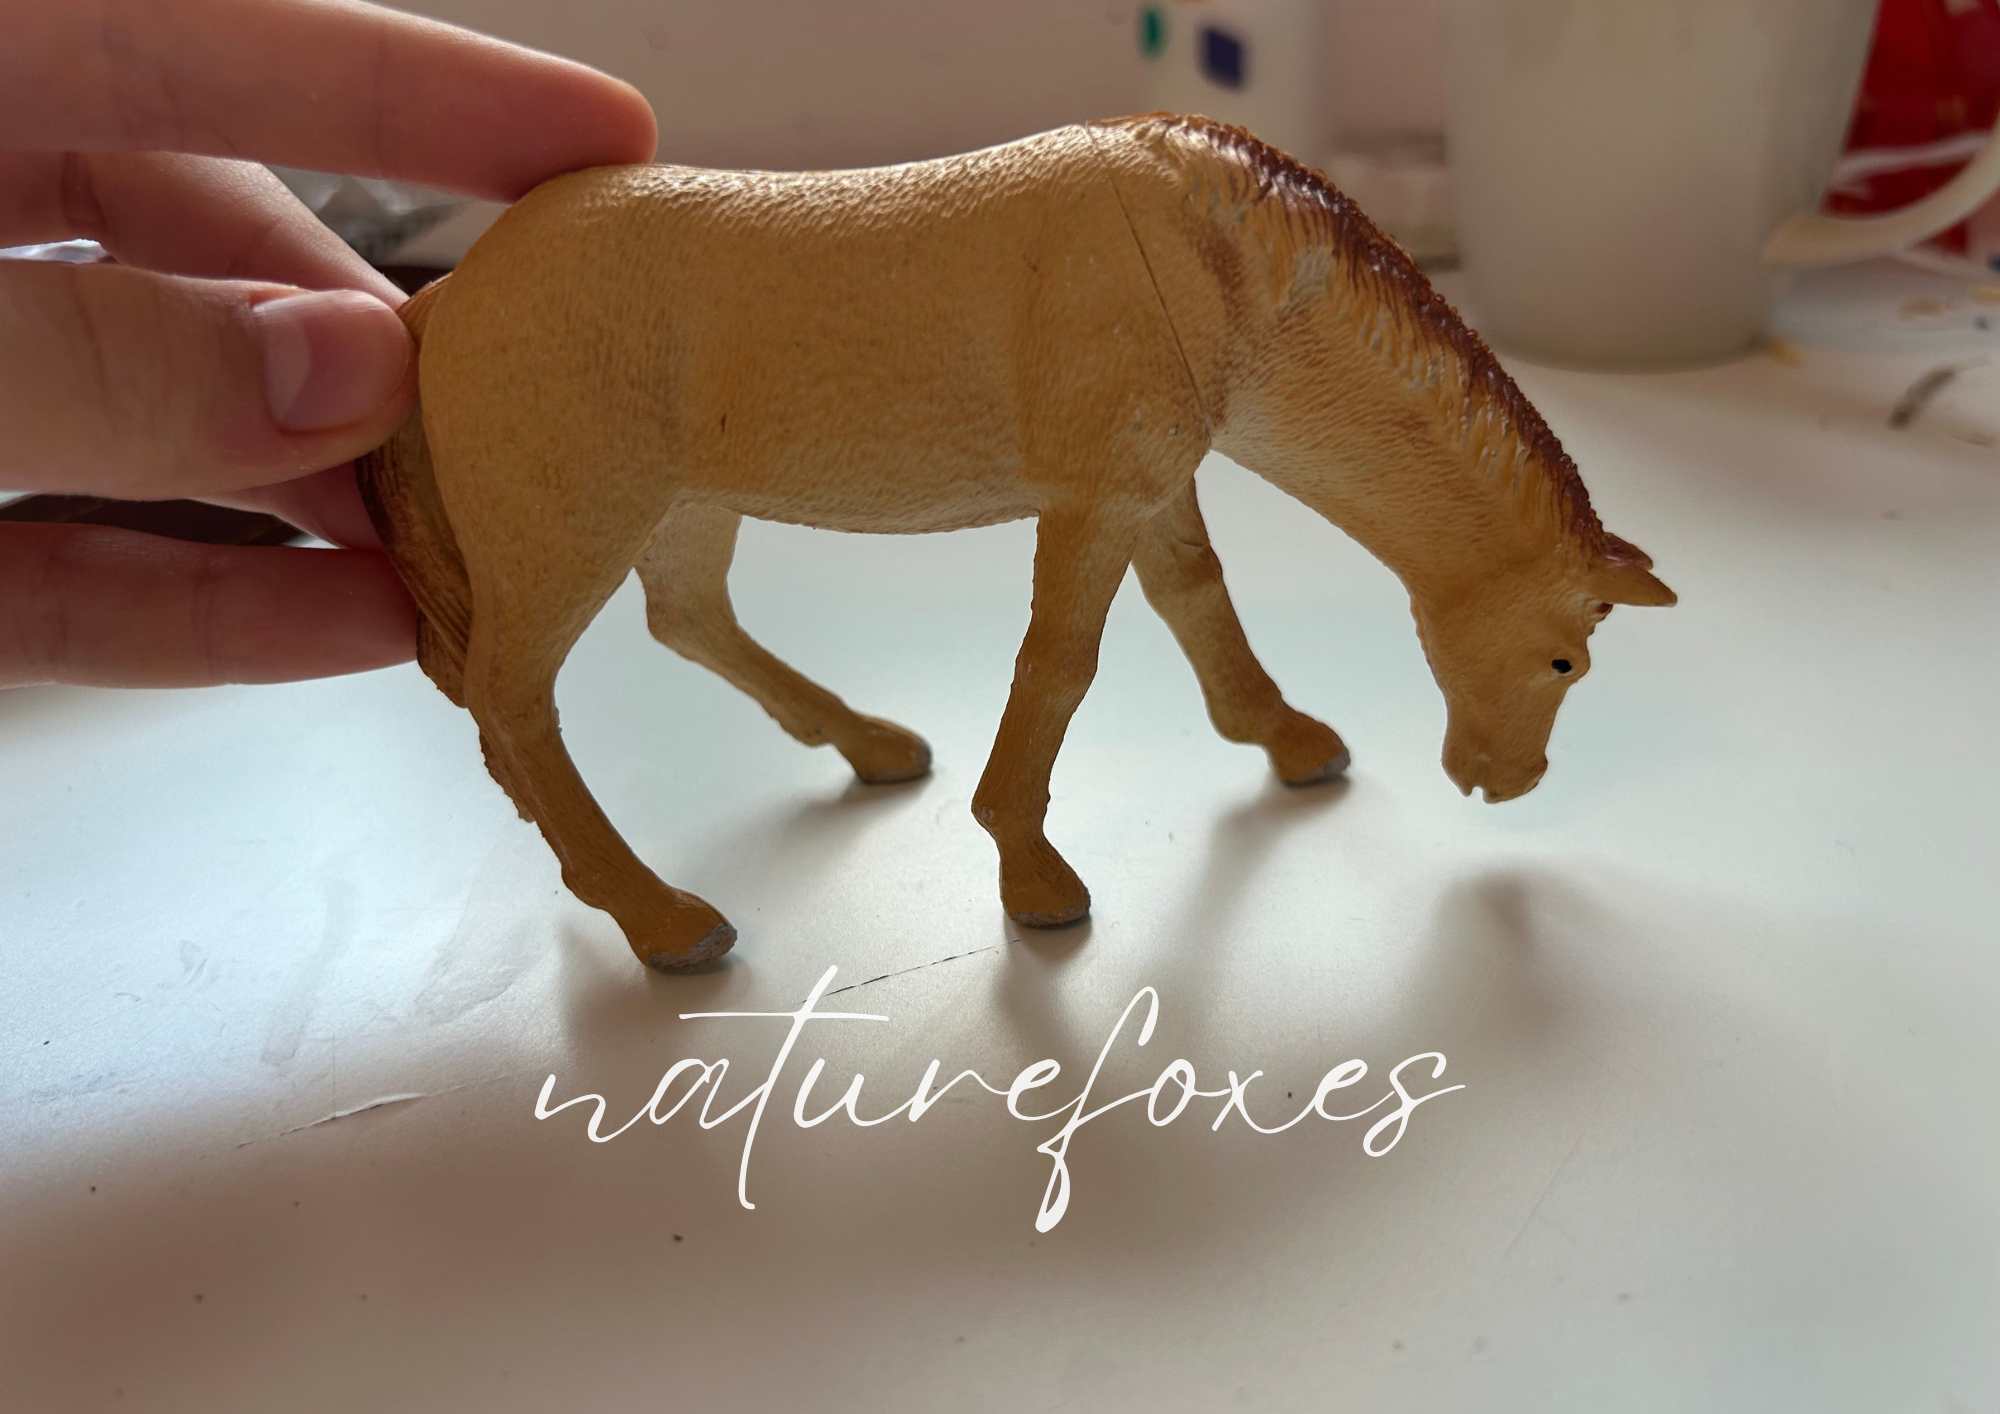
The base model I used was a cheap plastic horse I had lying around. I honestly can't tell you the brand, there are some illisible scribbles on her tummy but I can't make those out. She came in a larger lot of horses. The plastic is quite bendy but I've seen worse. This is a picture of her at the very beginning. Can you tell I was impatient and cut off her tail before deciding to post about her?
I cut off the tail and then began the tedious prepping job. I sanded down all the seams, sanded her nostrils, and removed her ears.
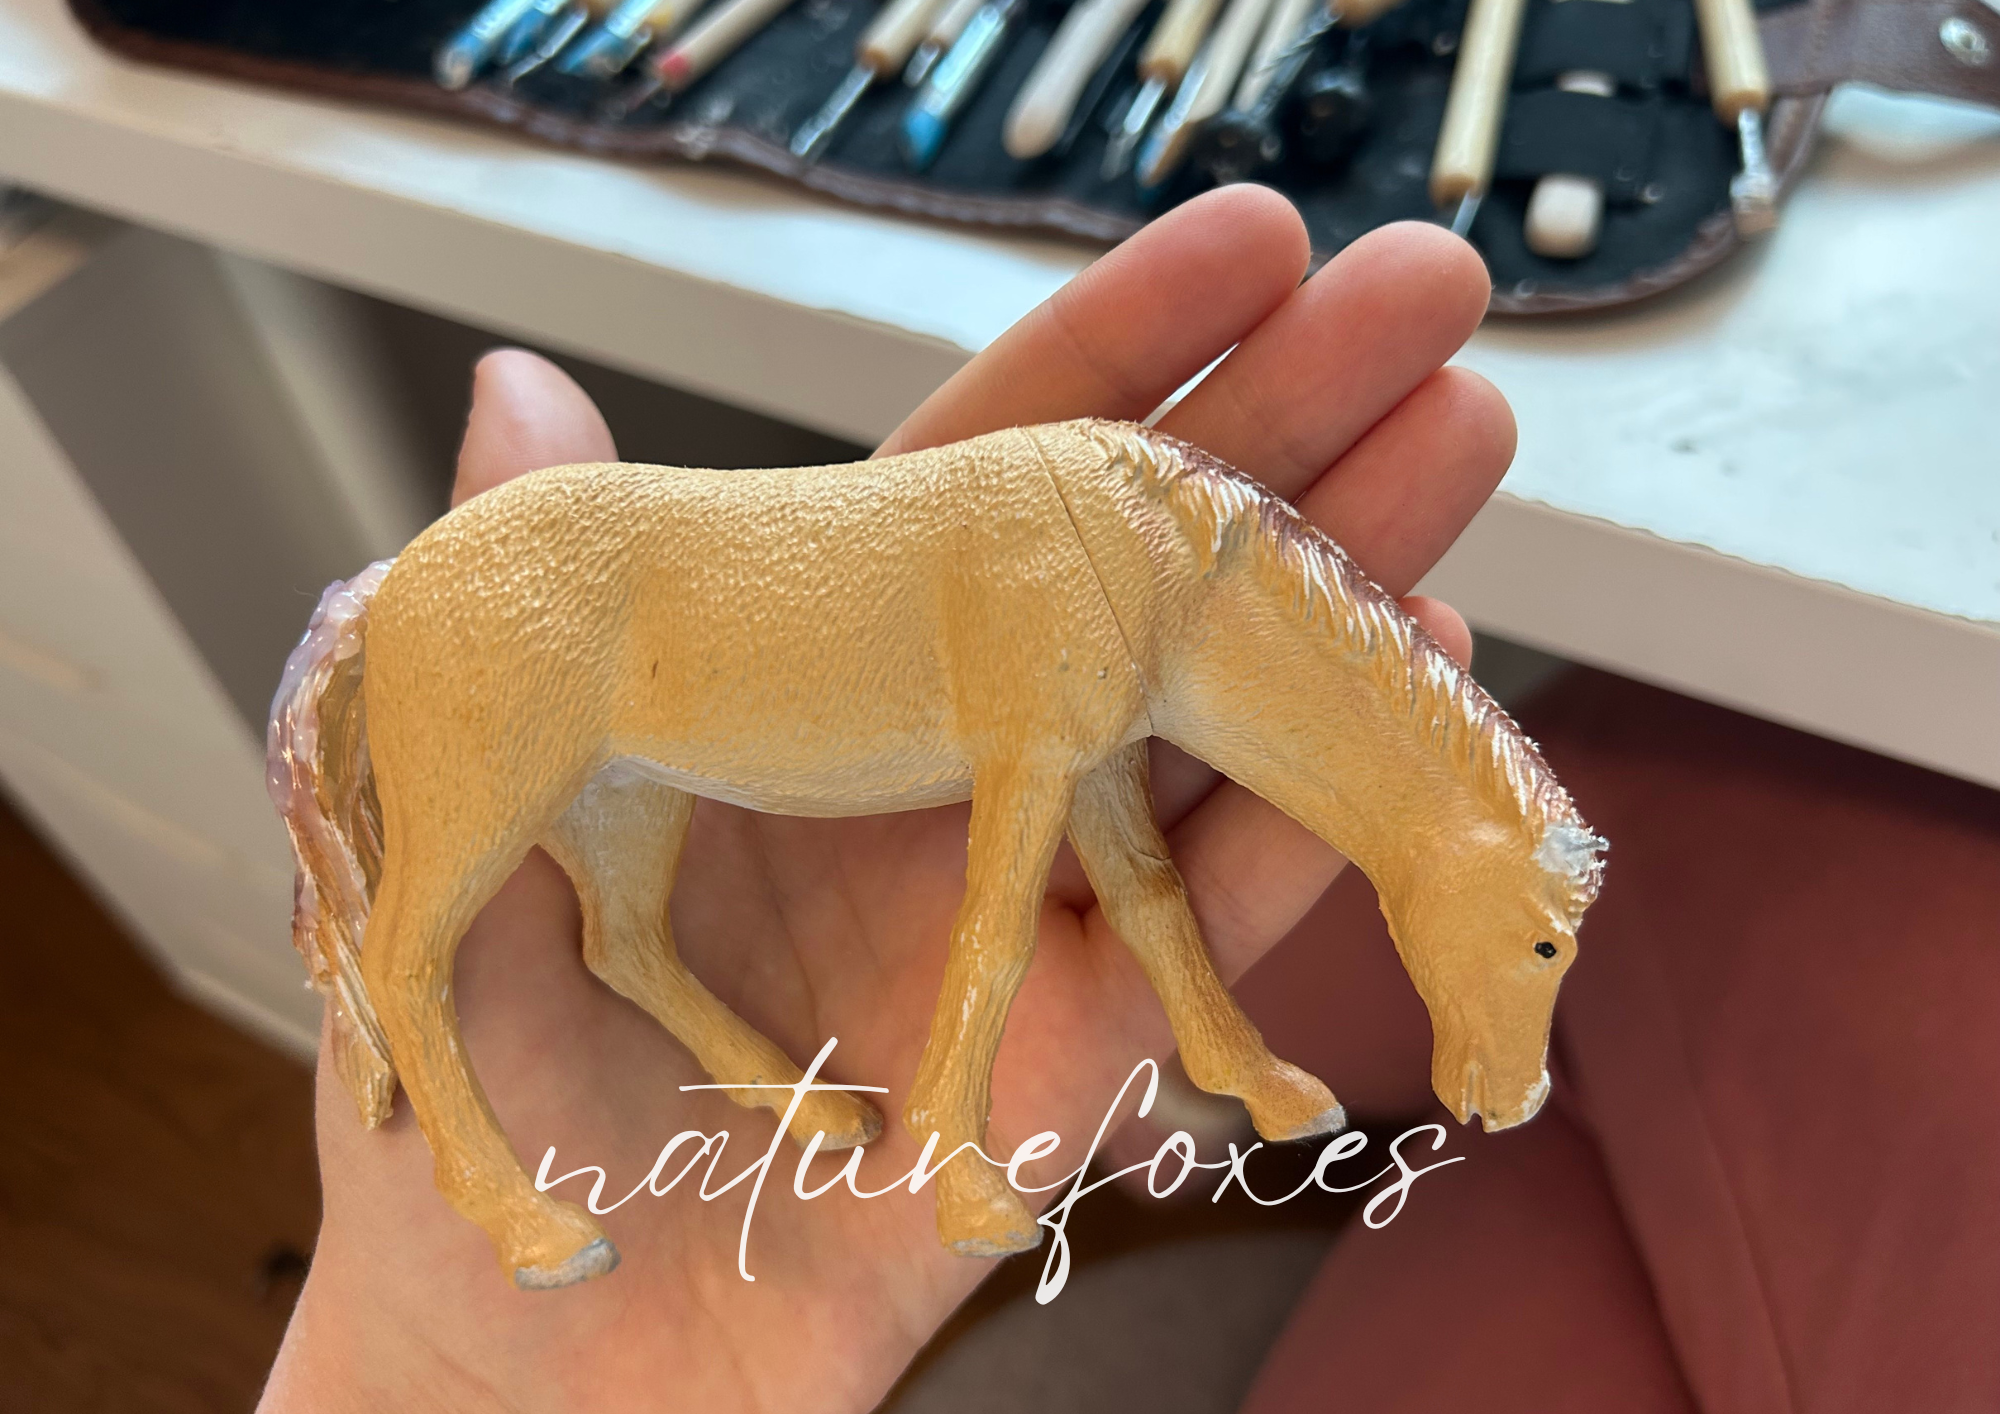
Then I sanded the mane and made holes for her ears and new tail. I inserted armature wire and then decided to put the old tail back on.
Next was time to resculpt some of the important features. I was very indecisive with the tail but in the end I ripped it off and sculpted her a brand new tail onto a wire and tinfoil armature. As you can see in the image above I went ahead and thickened her neck to enhance her pose, I added onto her chest to make it more anatomically correct, I made her new ears in a more realistic pose, and I gave her a new mane. I also intervened on the face and gave her more pronounced cheeks, flared nostrils, and added to her chin so the "open mouth" pose looks more natural. By the way, her bug eyes were killing me this whole entire time, I just couldn't stand the poor paint job...
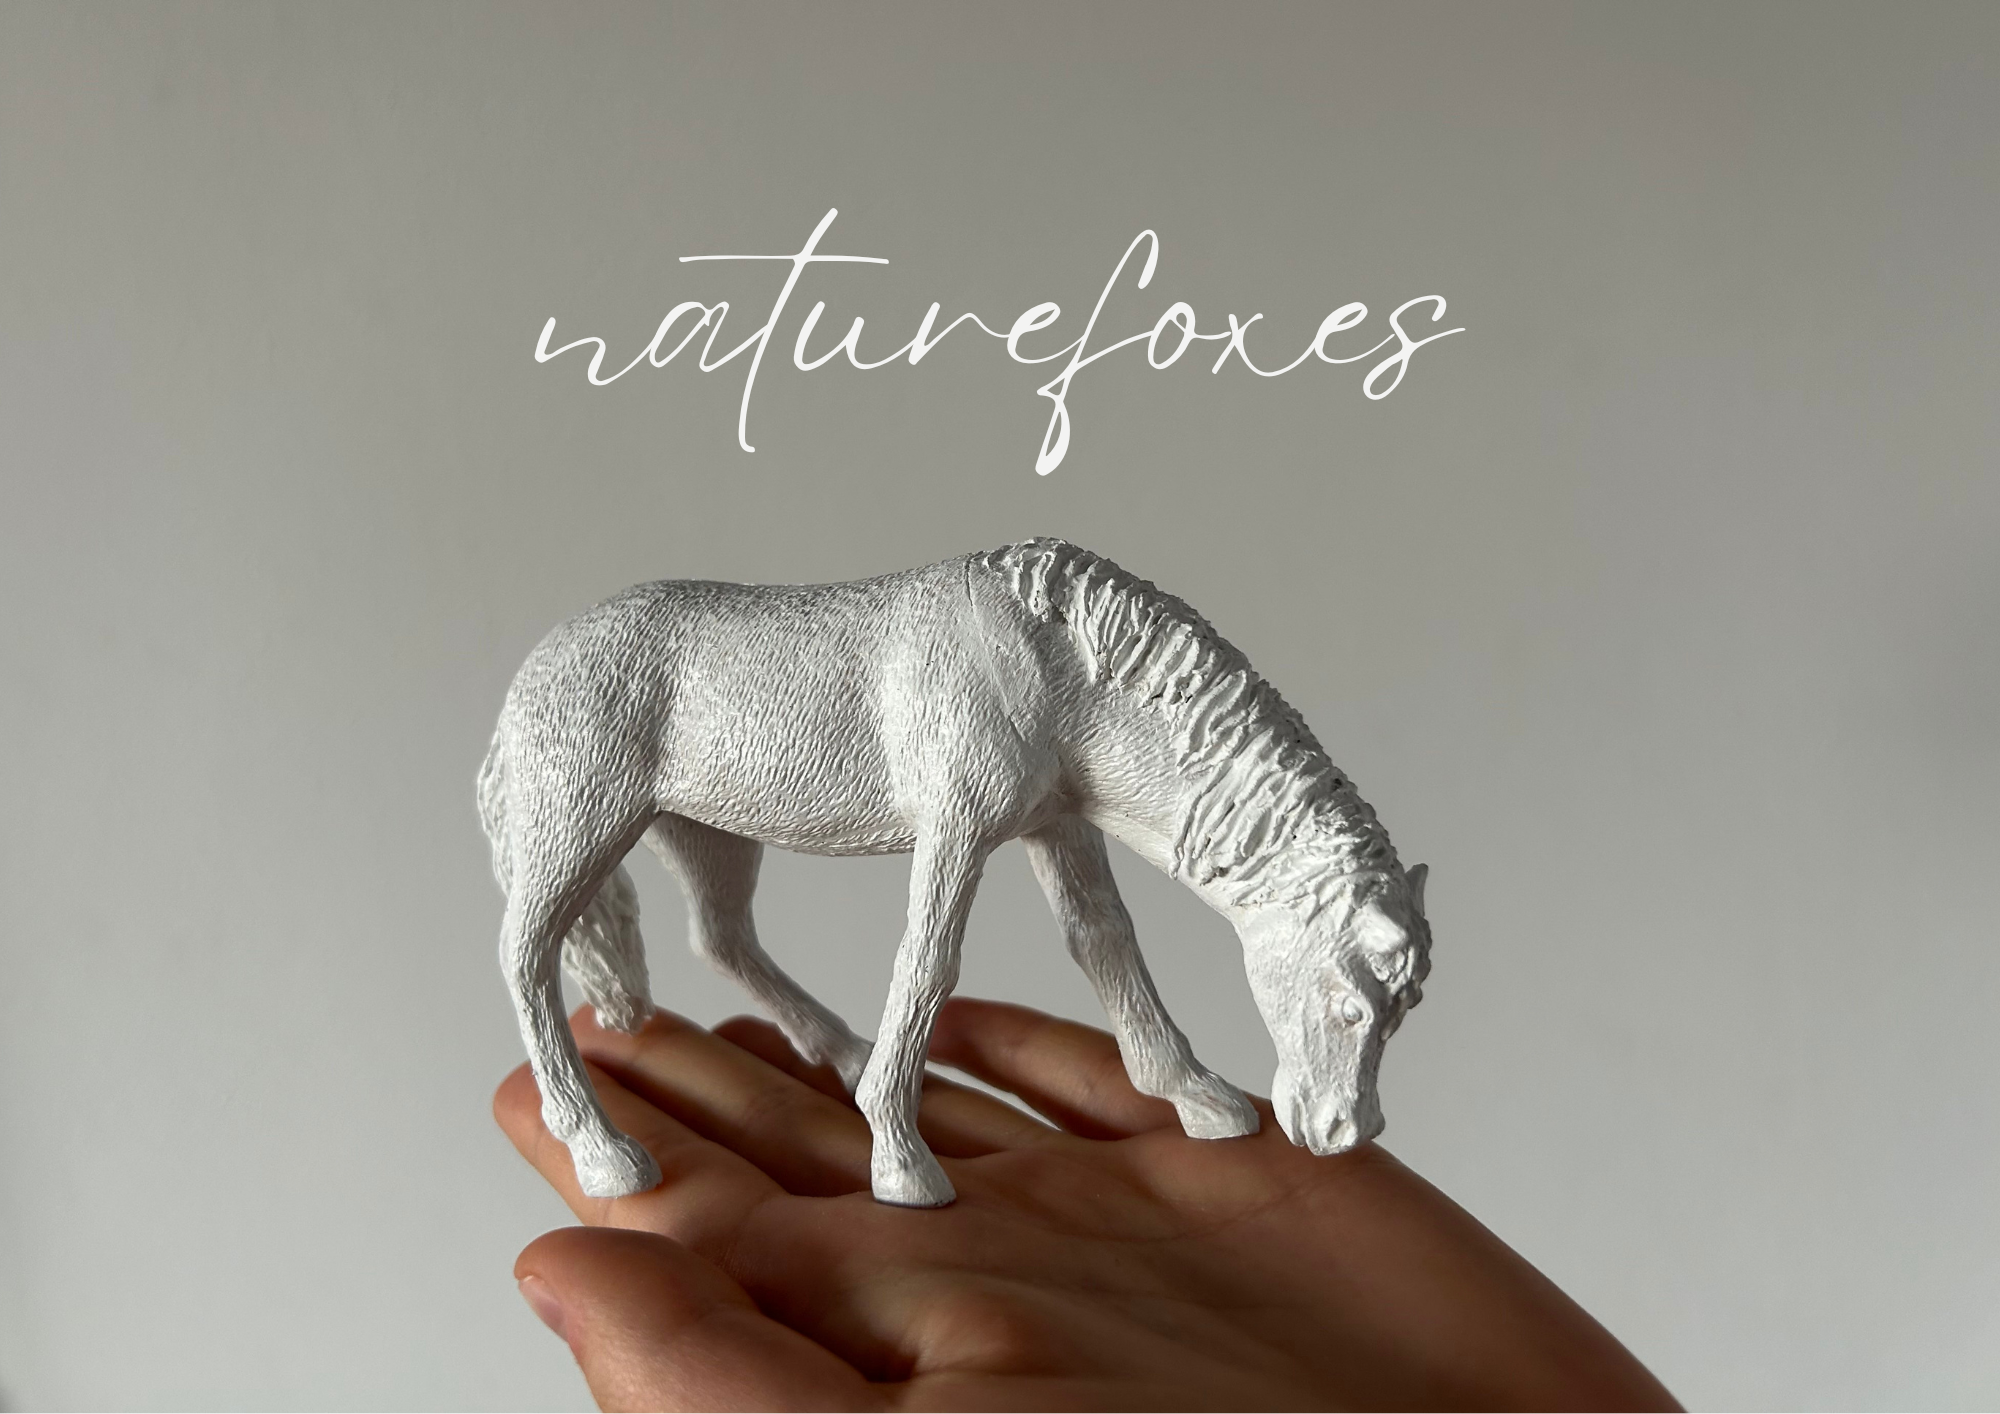
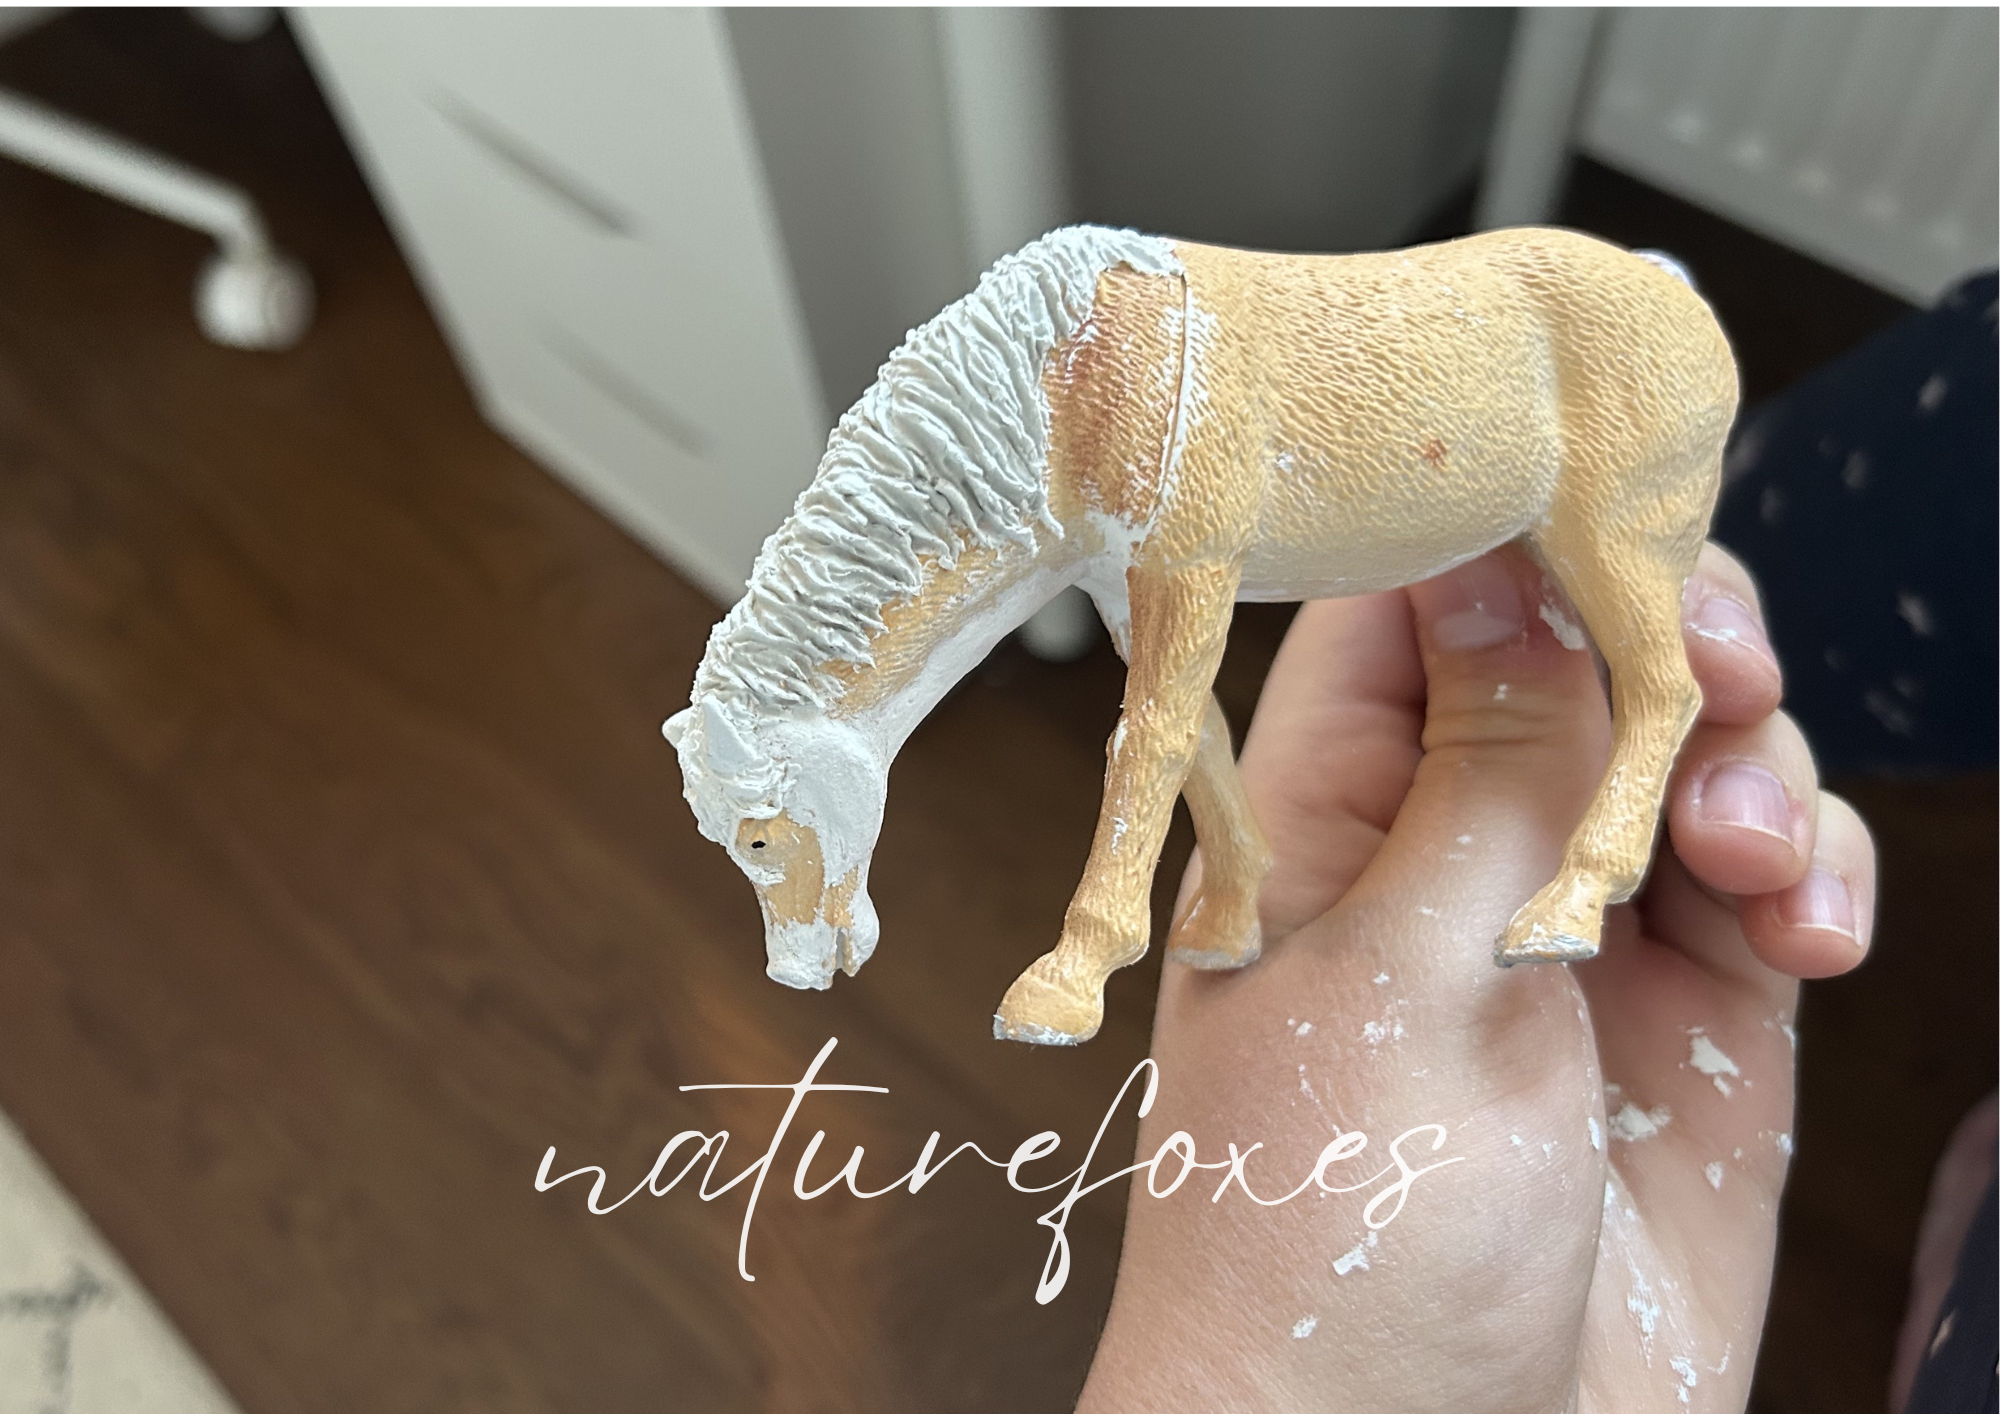
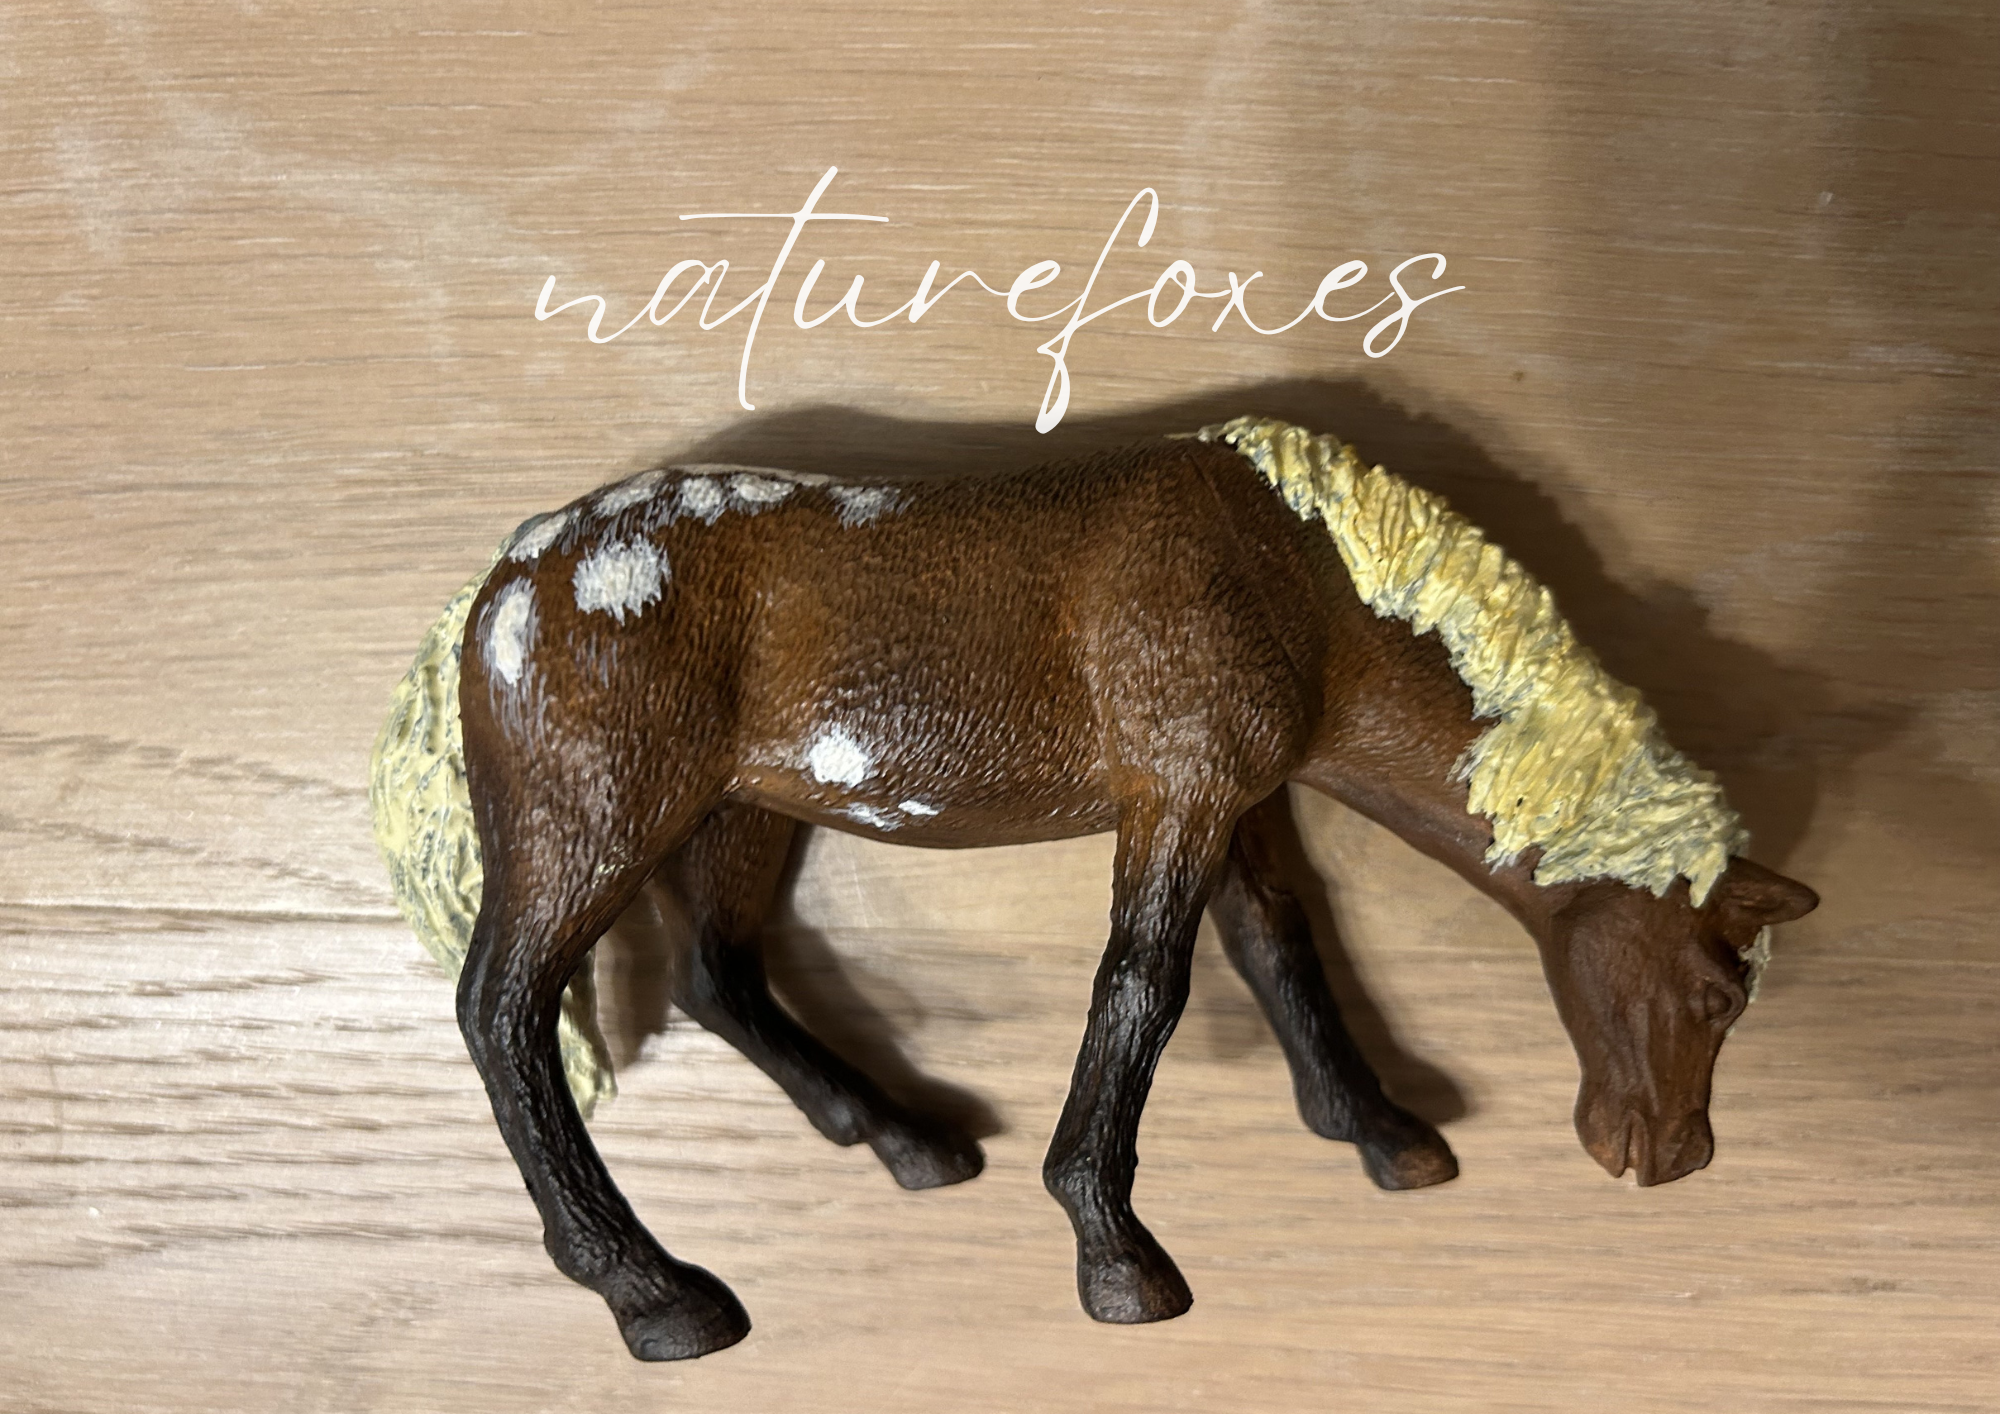
Then she got primed with white acrylics and I was in love with the way the white made her sculpt work stand out. The bug eyes were also gone and that was pleasing. This is where I made a big mistake when choosing her coat color. I really had no idea what she would look good in, all I knew was that I kind of didn't want to give her any color at all. All these images were coming to my mind of a light colored pony with these big tufts of grass sticking out of her mouth. I have no idea why I didn't trust my vision at first. I went online, found this cute picture of a dark bay, blanket appaloosa and went with it. After working on a lovely base color, I moved onto pastels. Once she was sealed I started to feel like the color doesn't suit her. I kind of ignored it and thought she would turn out ok. I went in with the spots and when they were done I thought they look awful! Then she sat for a long while. I felt like I just couldn't fix her. For a last resort I put on a choppy, flaxen color for the mane that would have needed a much better color match. This is what she looked like after. She was horrible!
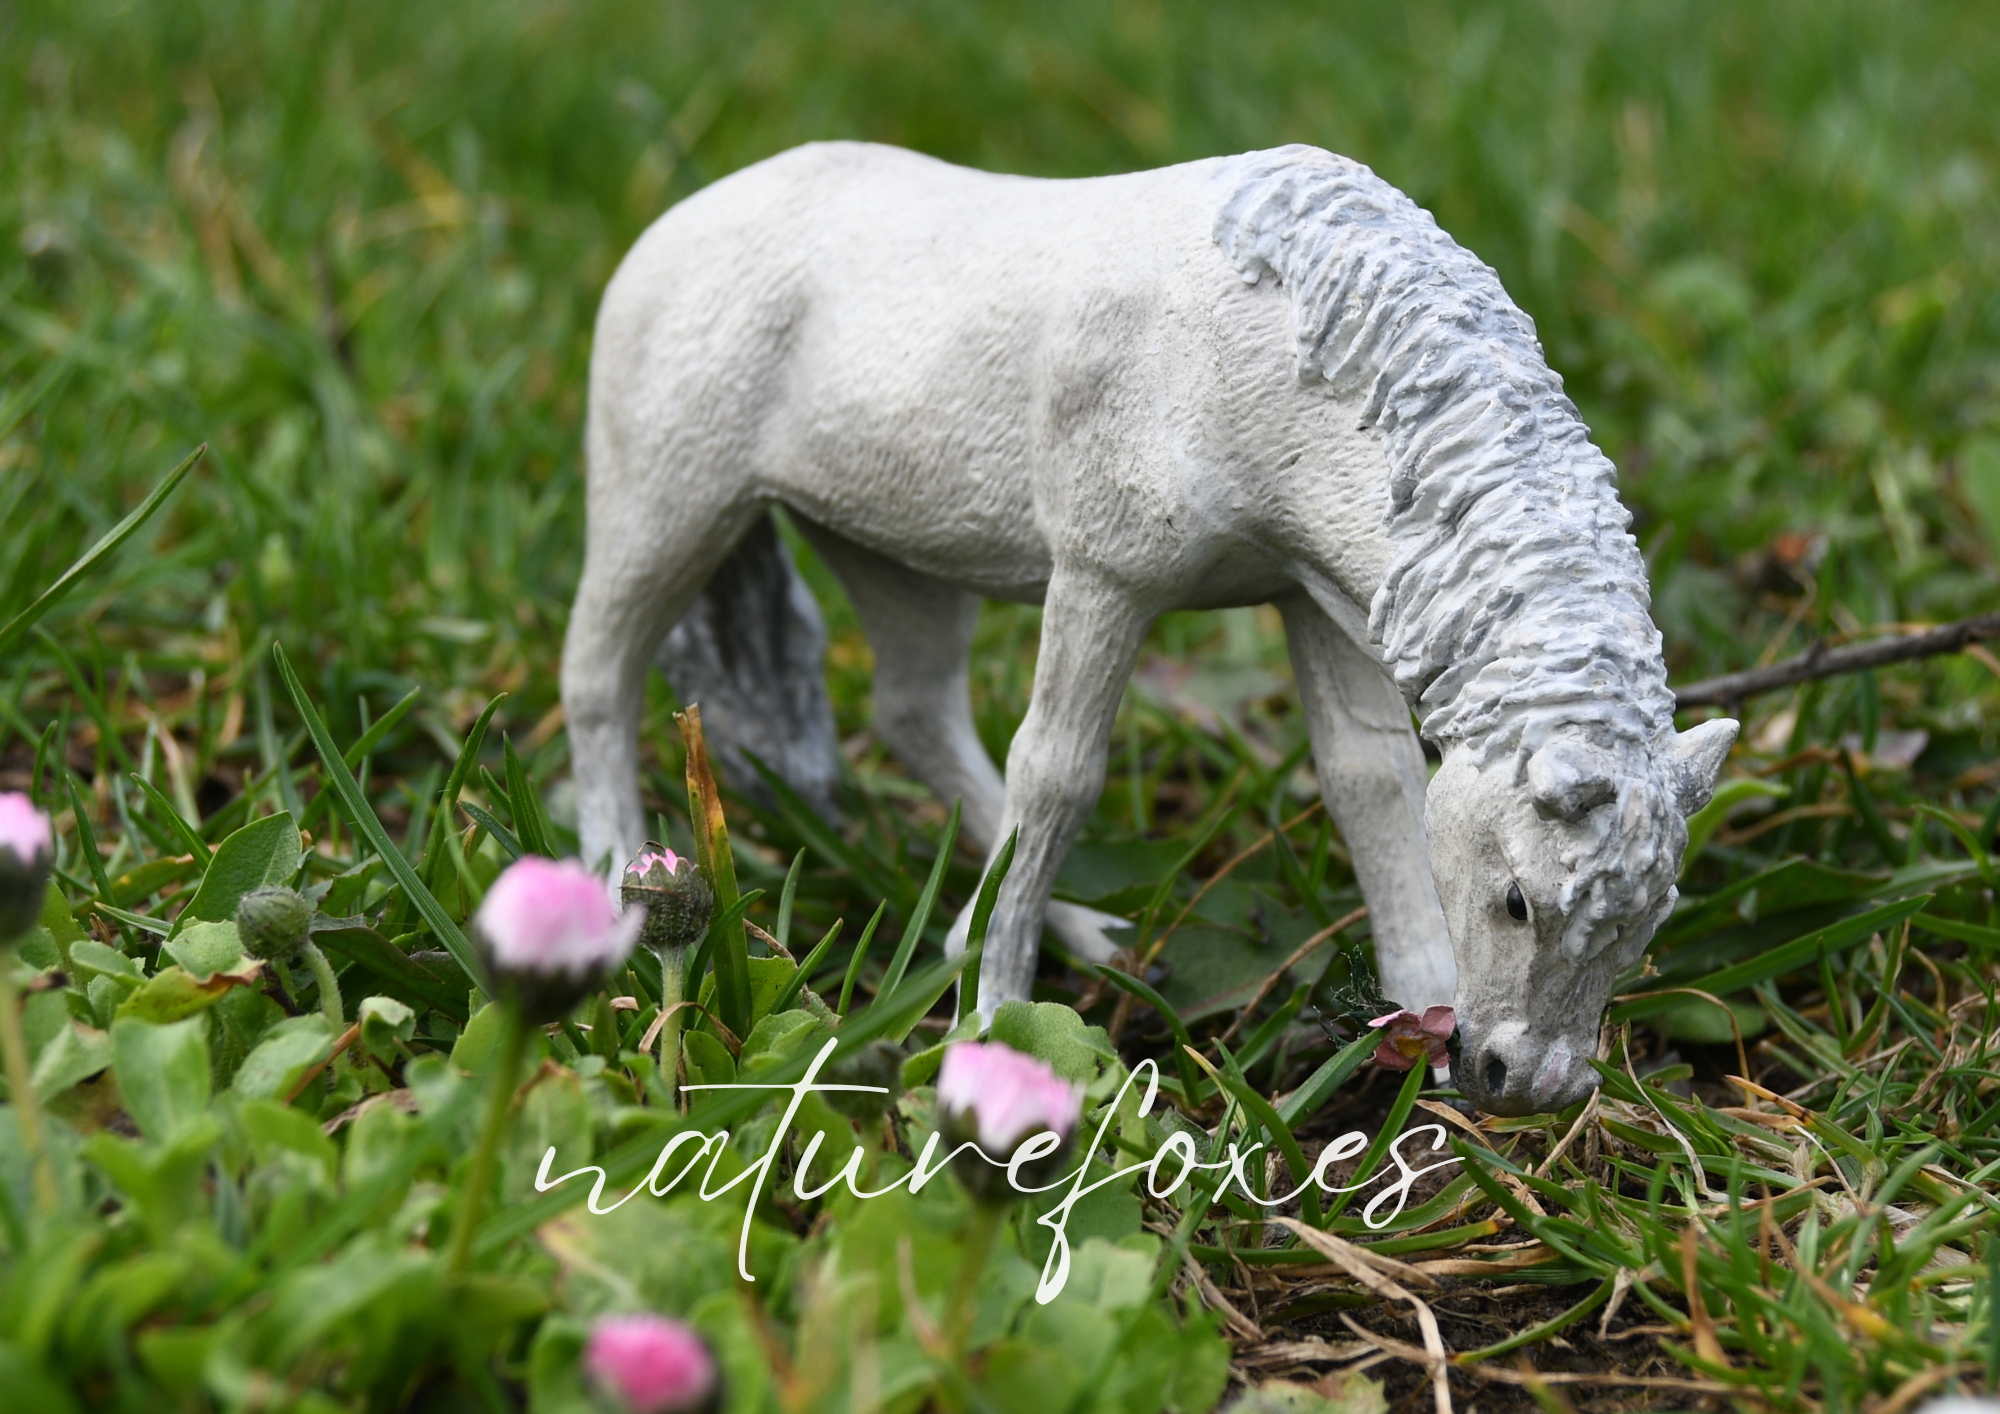
I tried to strip her paint but obviously, acrylics are water resistant. After a little bit of thinking and regretting how much I had hoped she would look good, I just painted her all white again. Then I sealed her again and began with a light layer of beige pastel and without sealing them in I started with a soft gray. This is a new technique I saw on YouTube and it worked really well! This gave her a very blended look and helped me avoid a lot of grain. I just continued to shade her and then sealed her in. Her new coat color is a single layer of pastels, she was just sealed once before and once after. There was unfortunately a bit of grain, and that, I discovered, was caused by the brush I used to dust her off. I fixed it as best I could and finished her off. At this point I completely forgot to take any pictures so I directly have her finished shots after I had finished the final paint job and made her a little flower for the grass in her mouth. I am so happy with her!
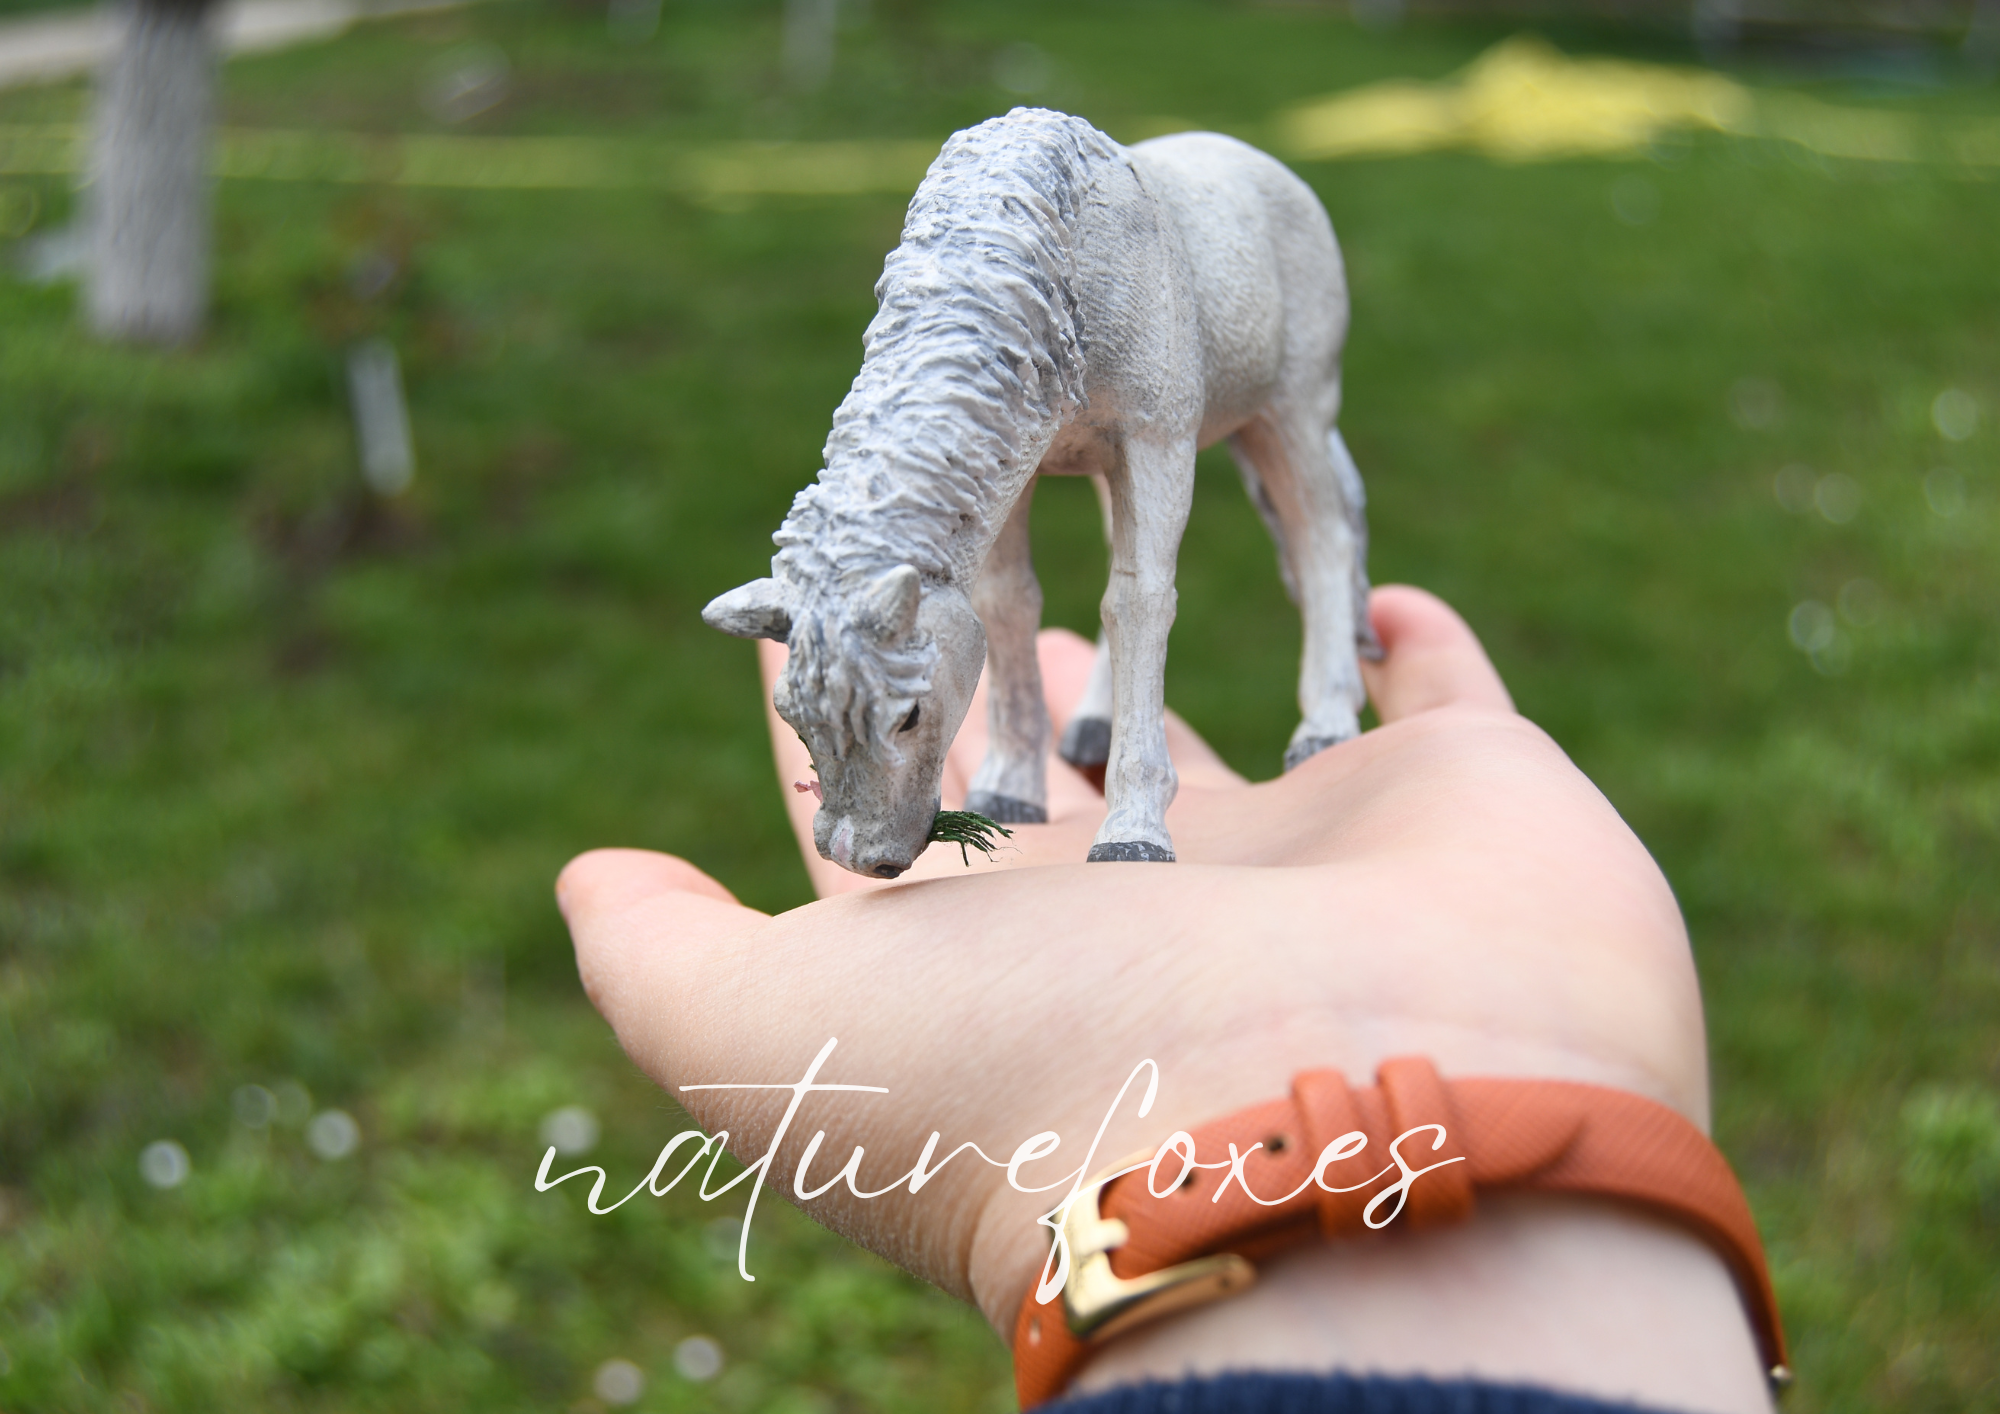
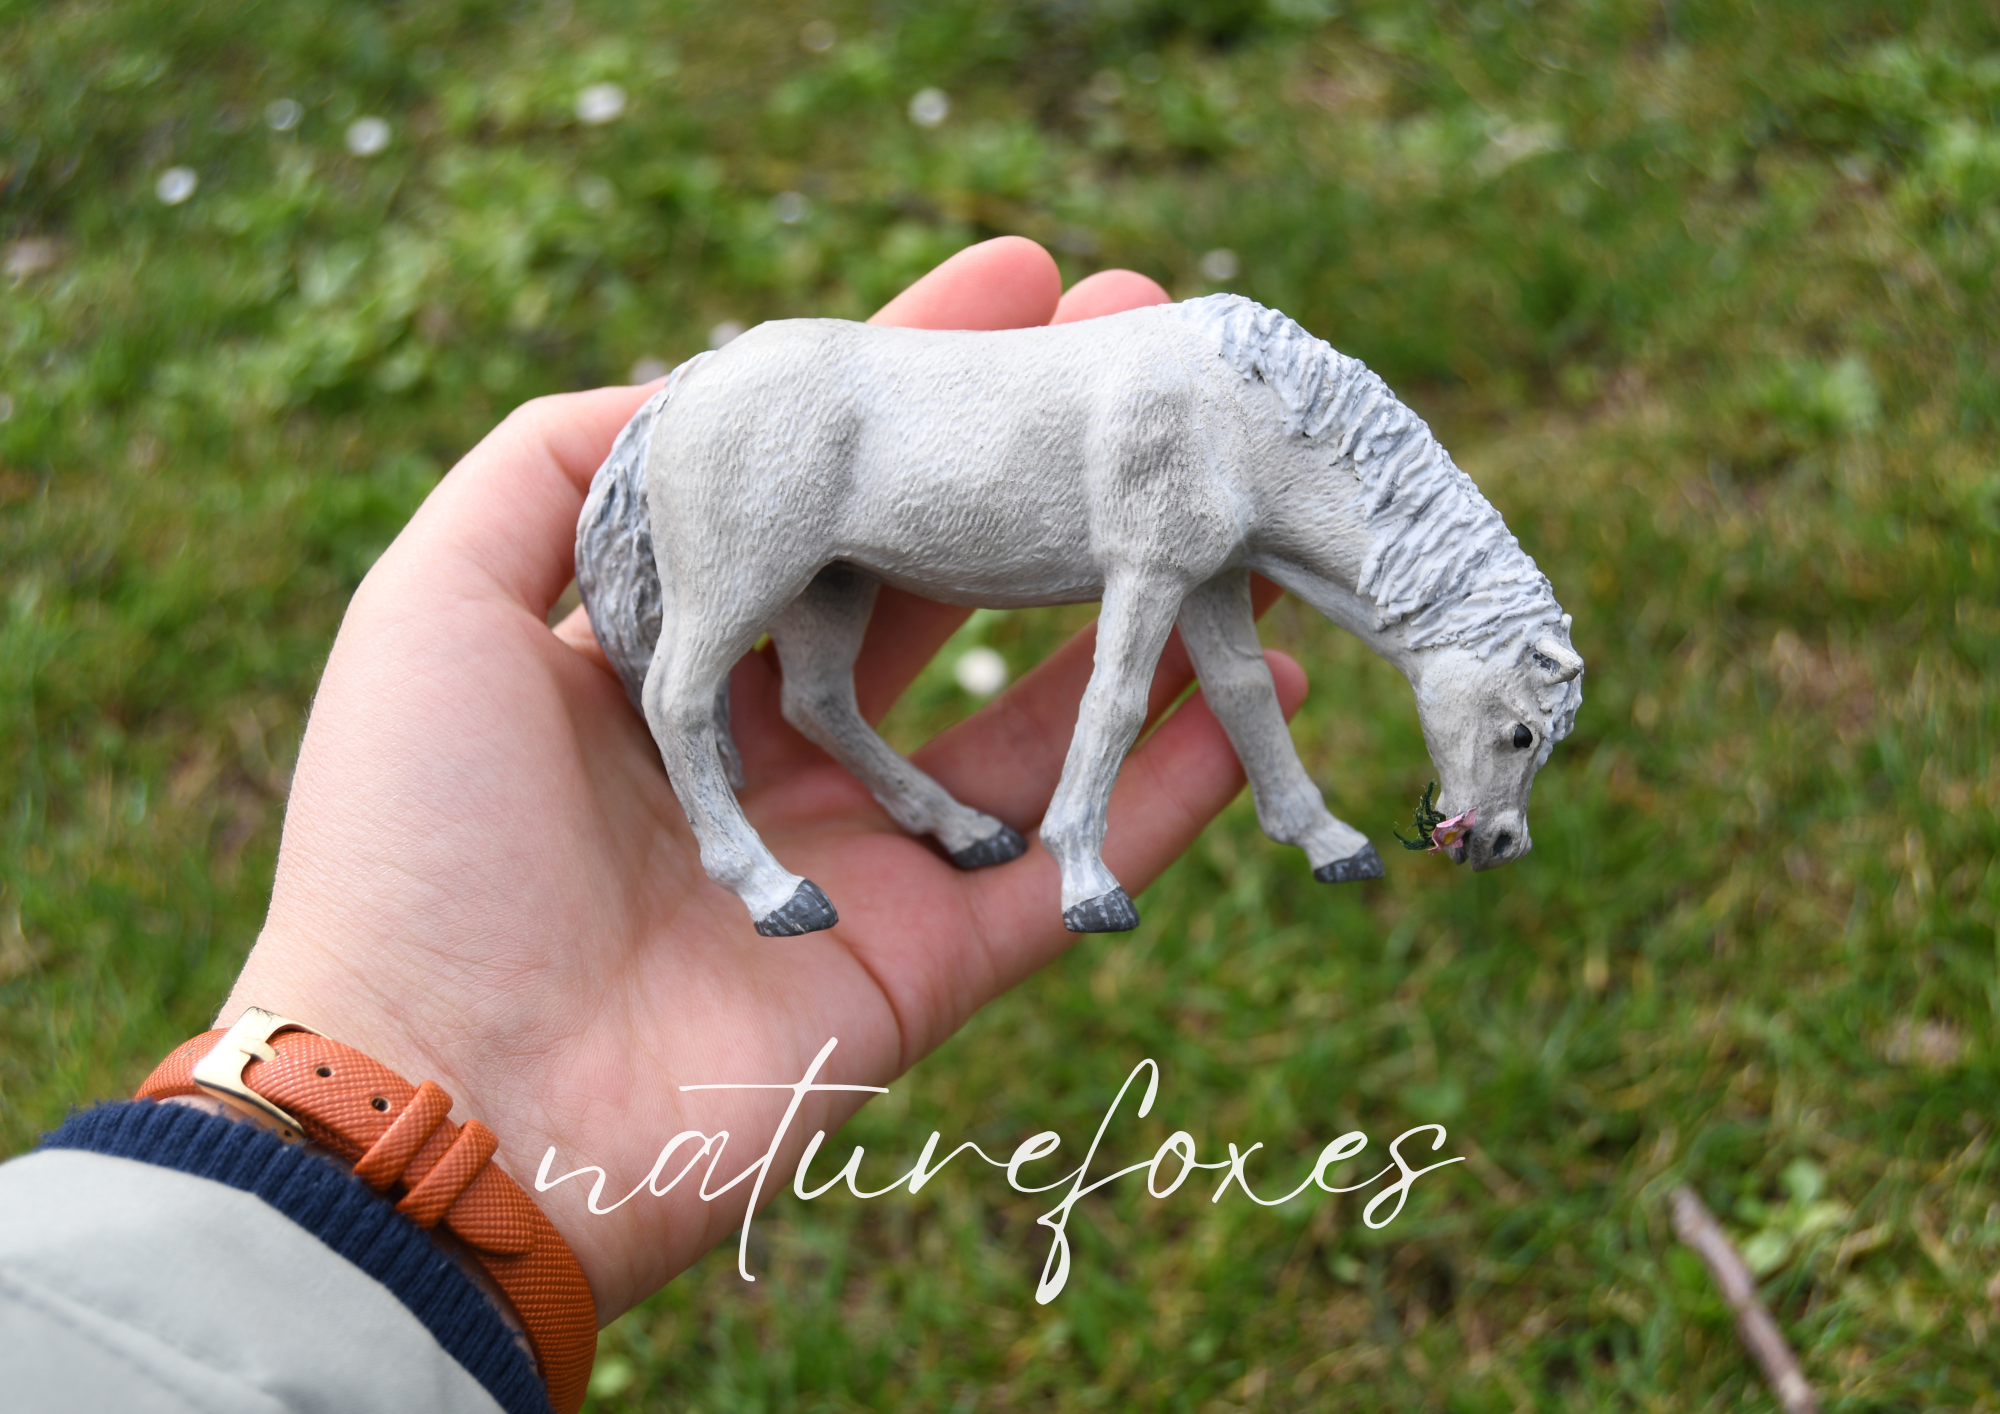
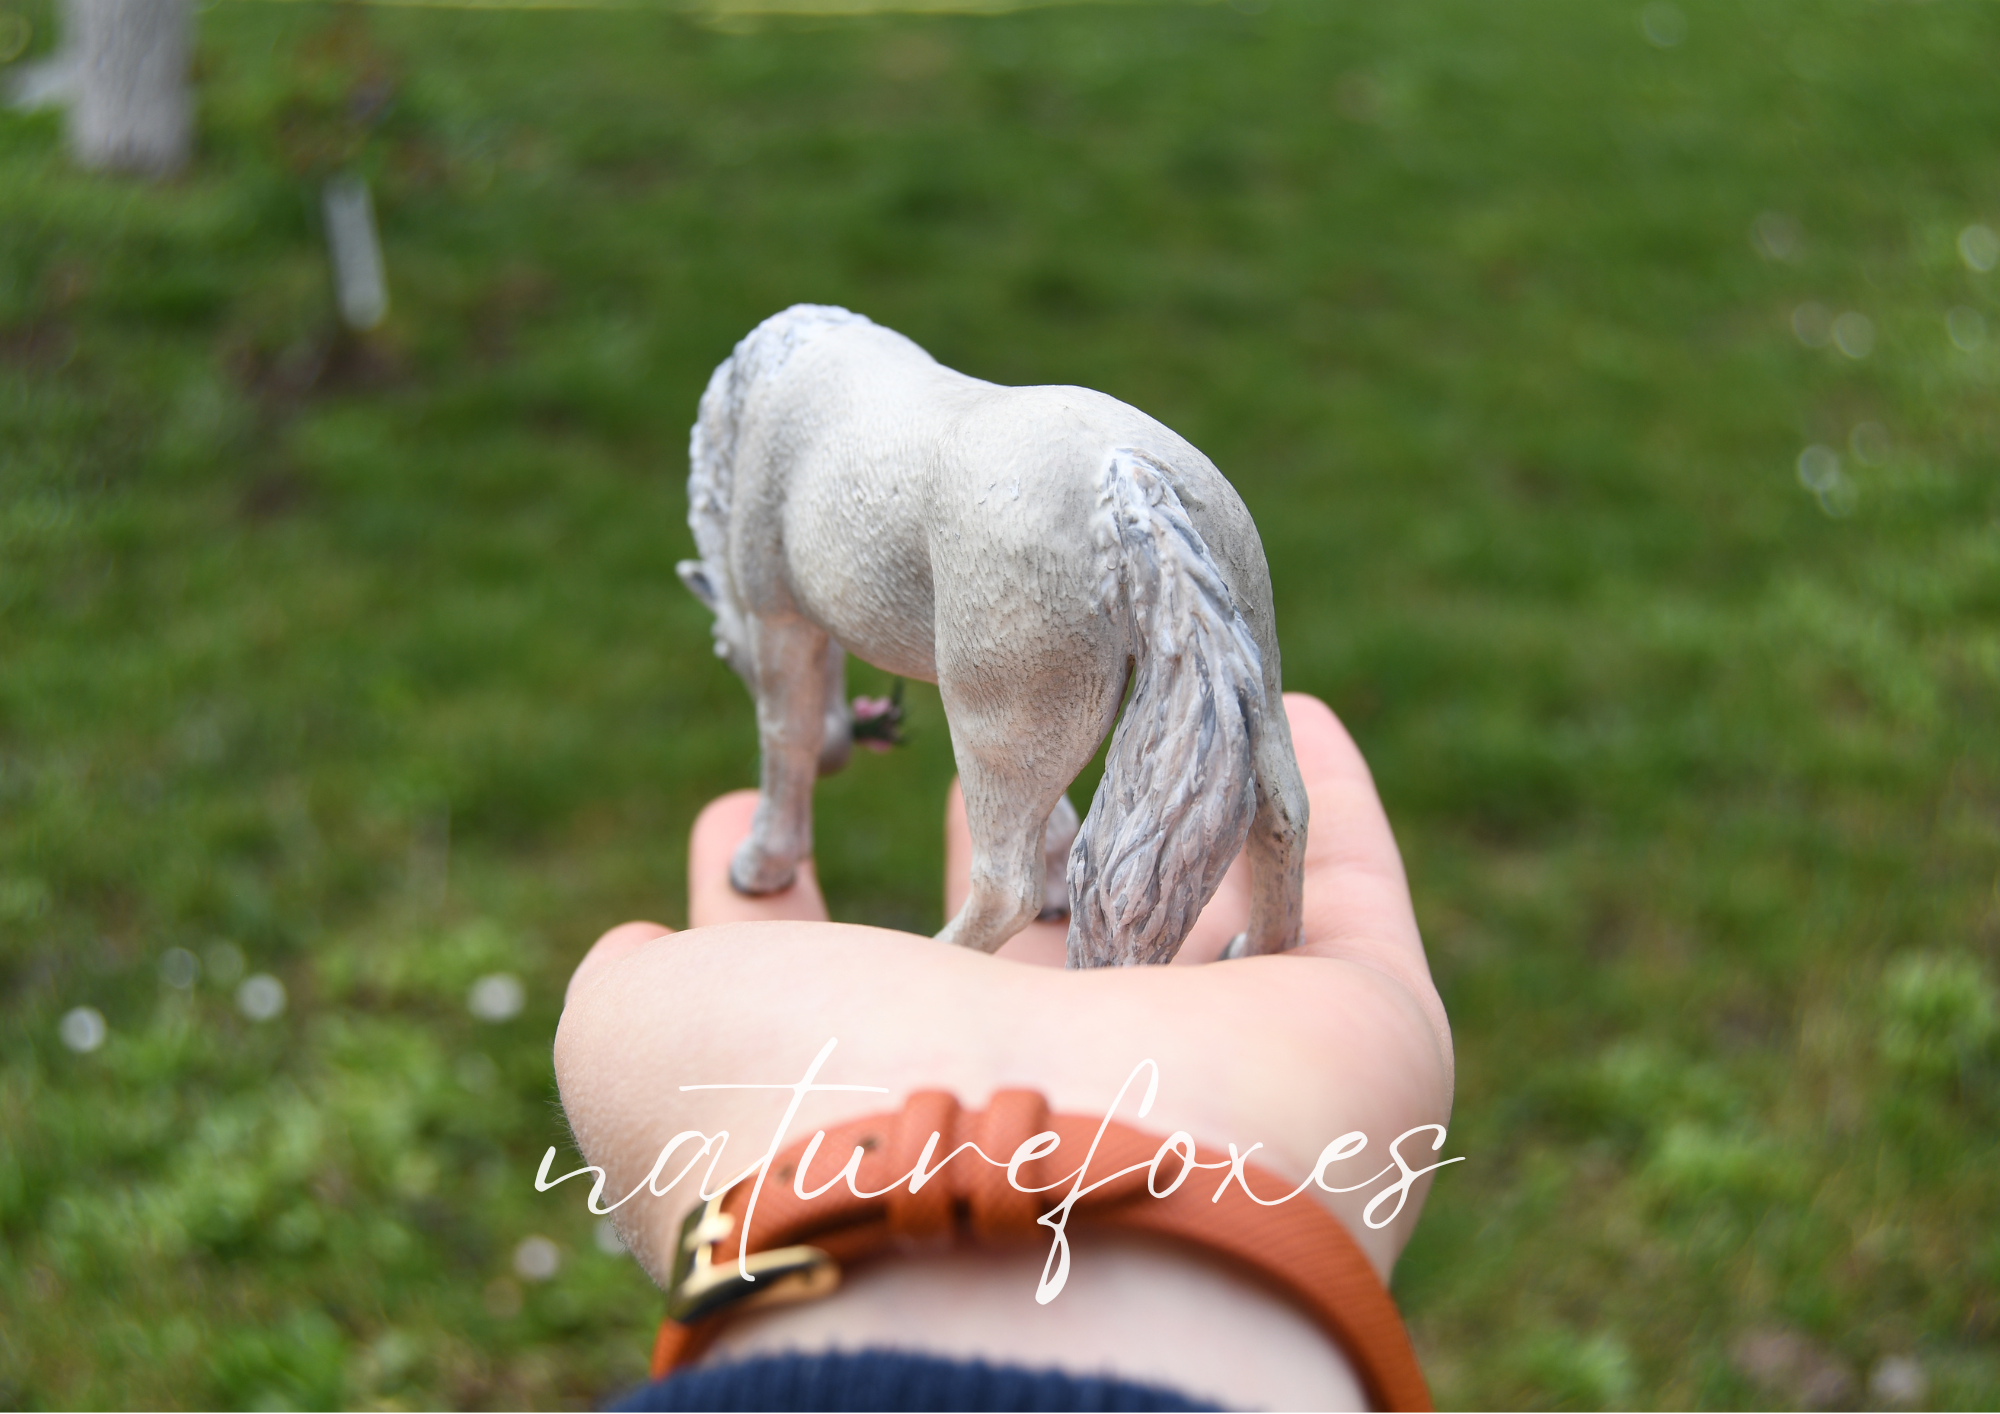
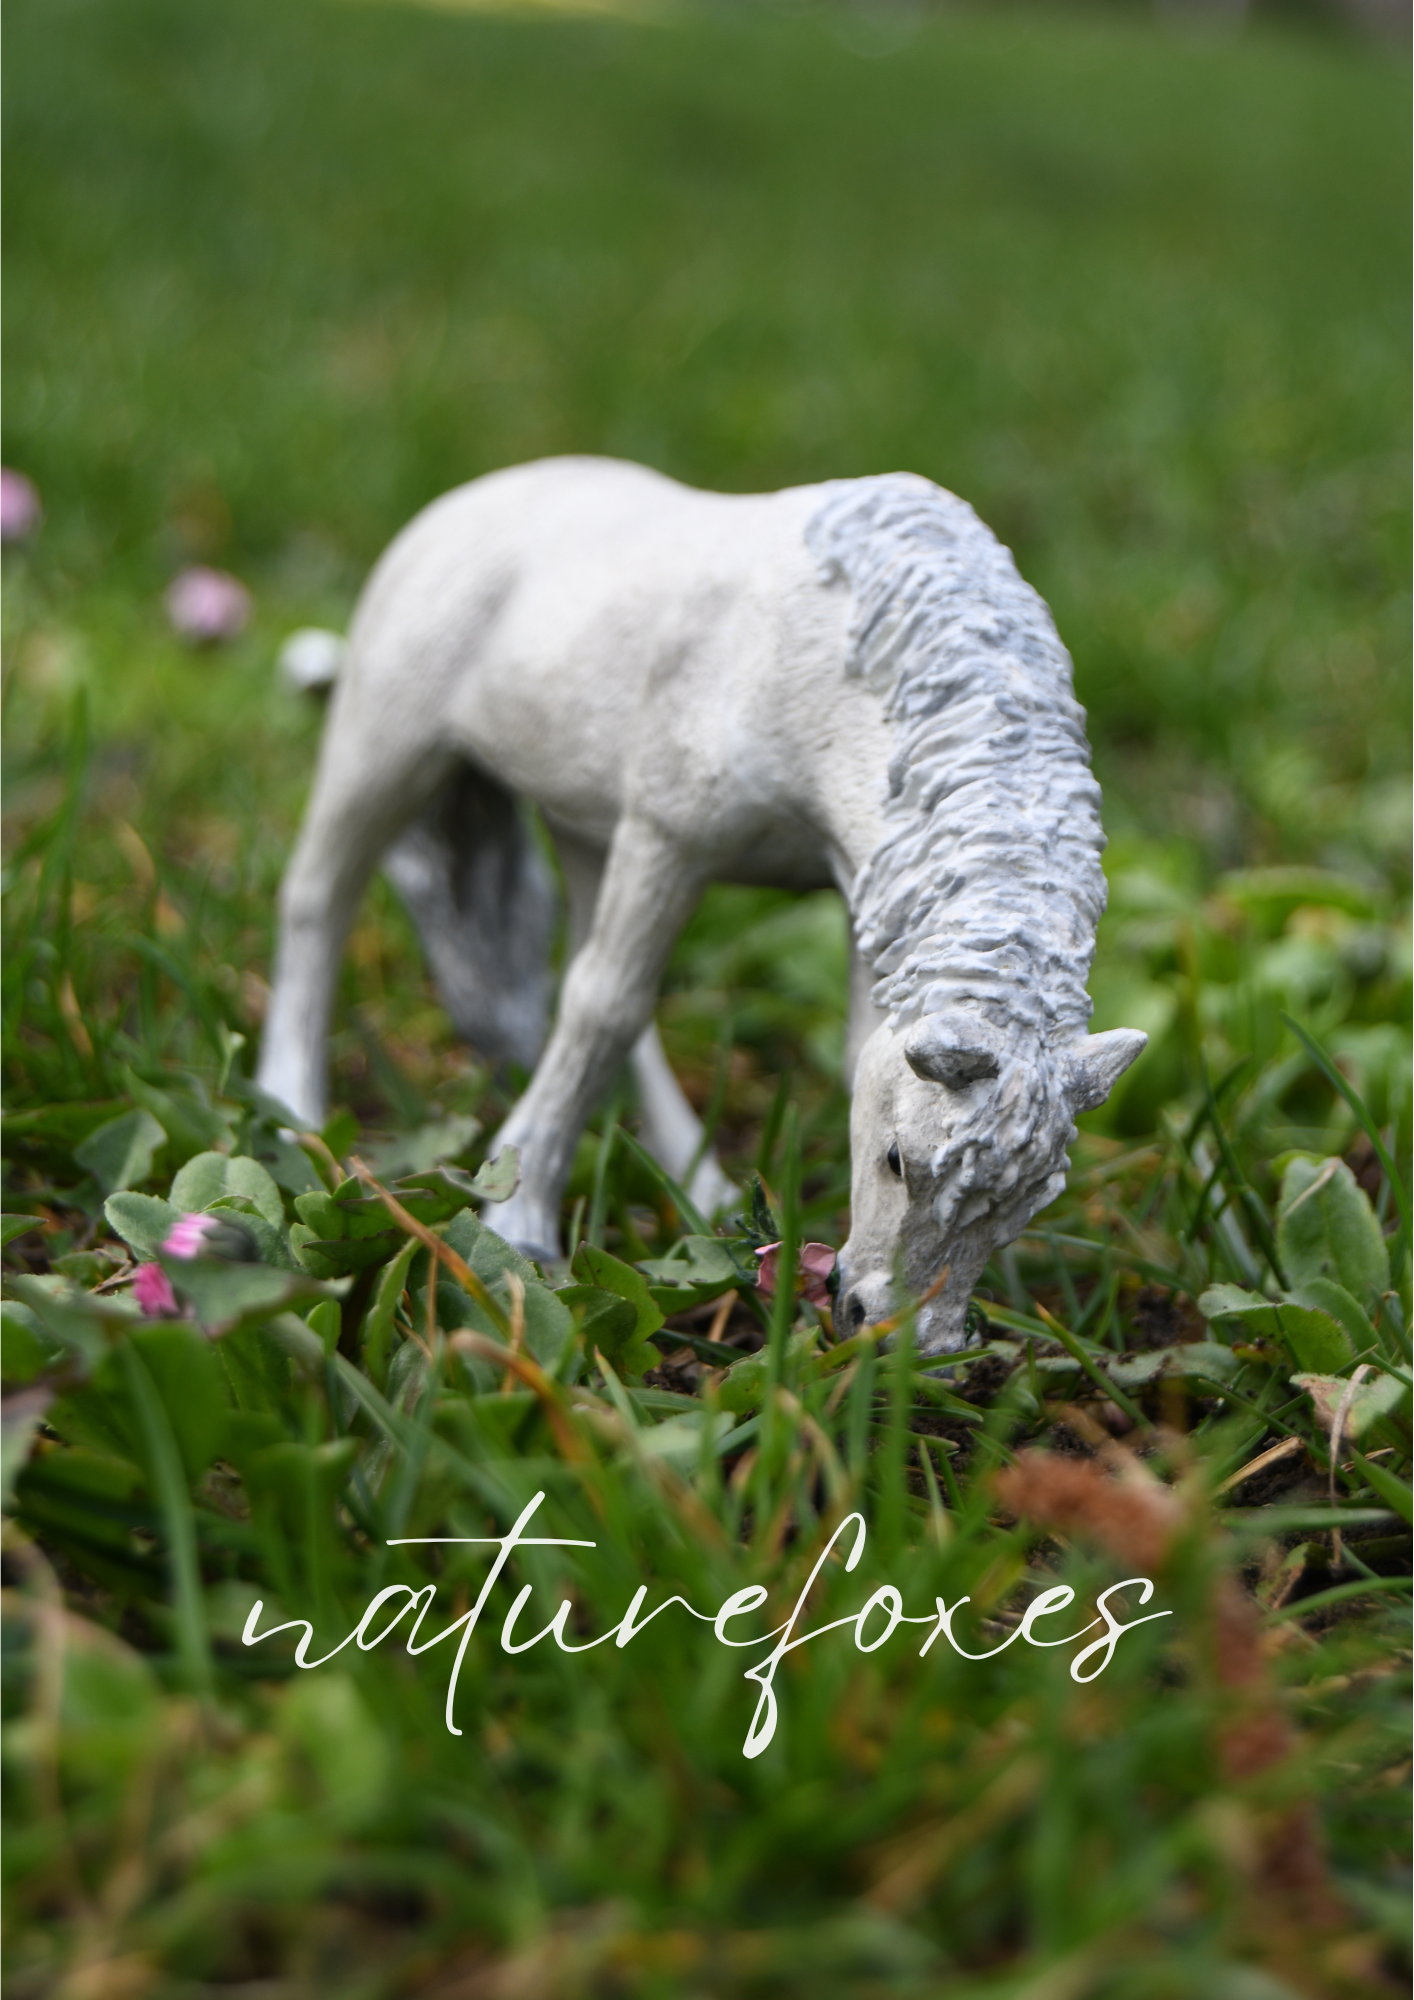
Here are the shots from her photoshoot! Primrose is the sweetest name for this girl and I'm so glad to have her as a part of my collection!
I hope you enjoyed seeing her and maybe you picked up some inspiration or reassurance that it's ok to mess up sometimes :)
Thank you so much for reading! See you next time!