
Tricks of Model Horse Customization!
Hello everyone!
Today I thought I would share a few tips and tricks; things I’ve come to realize and stuff I have learned over the years!
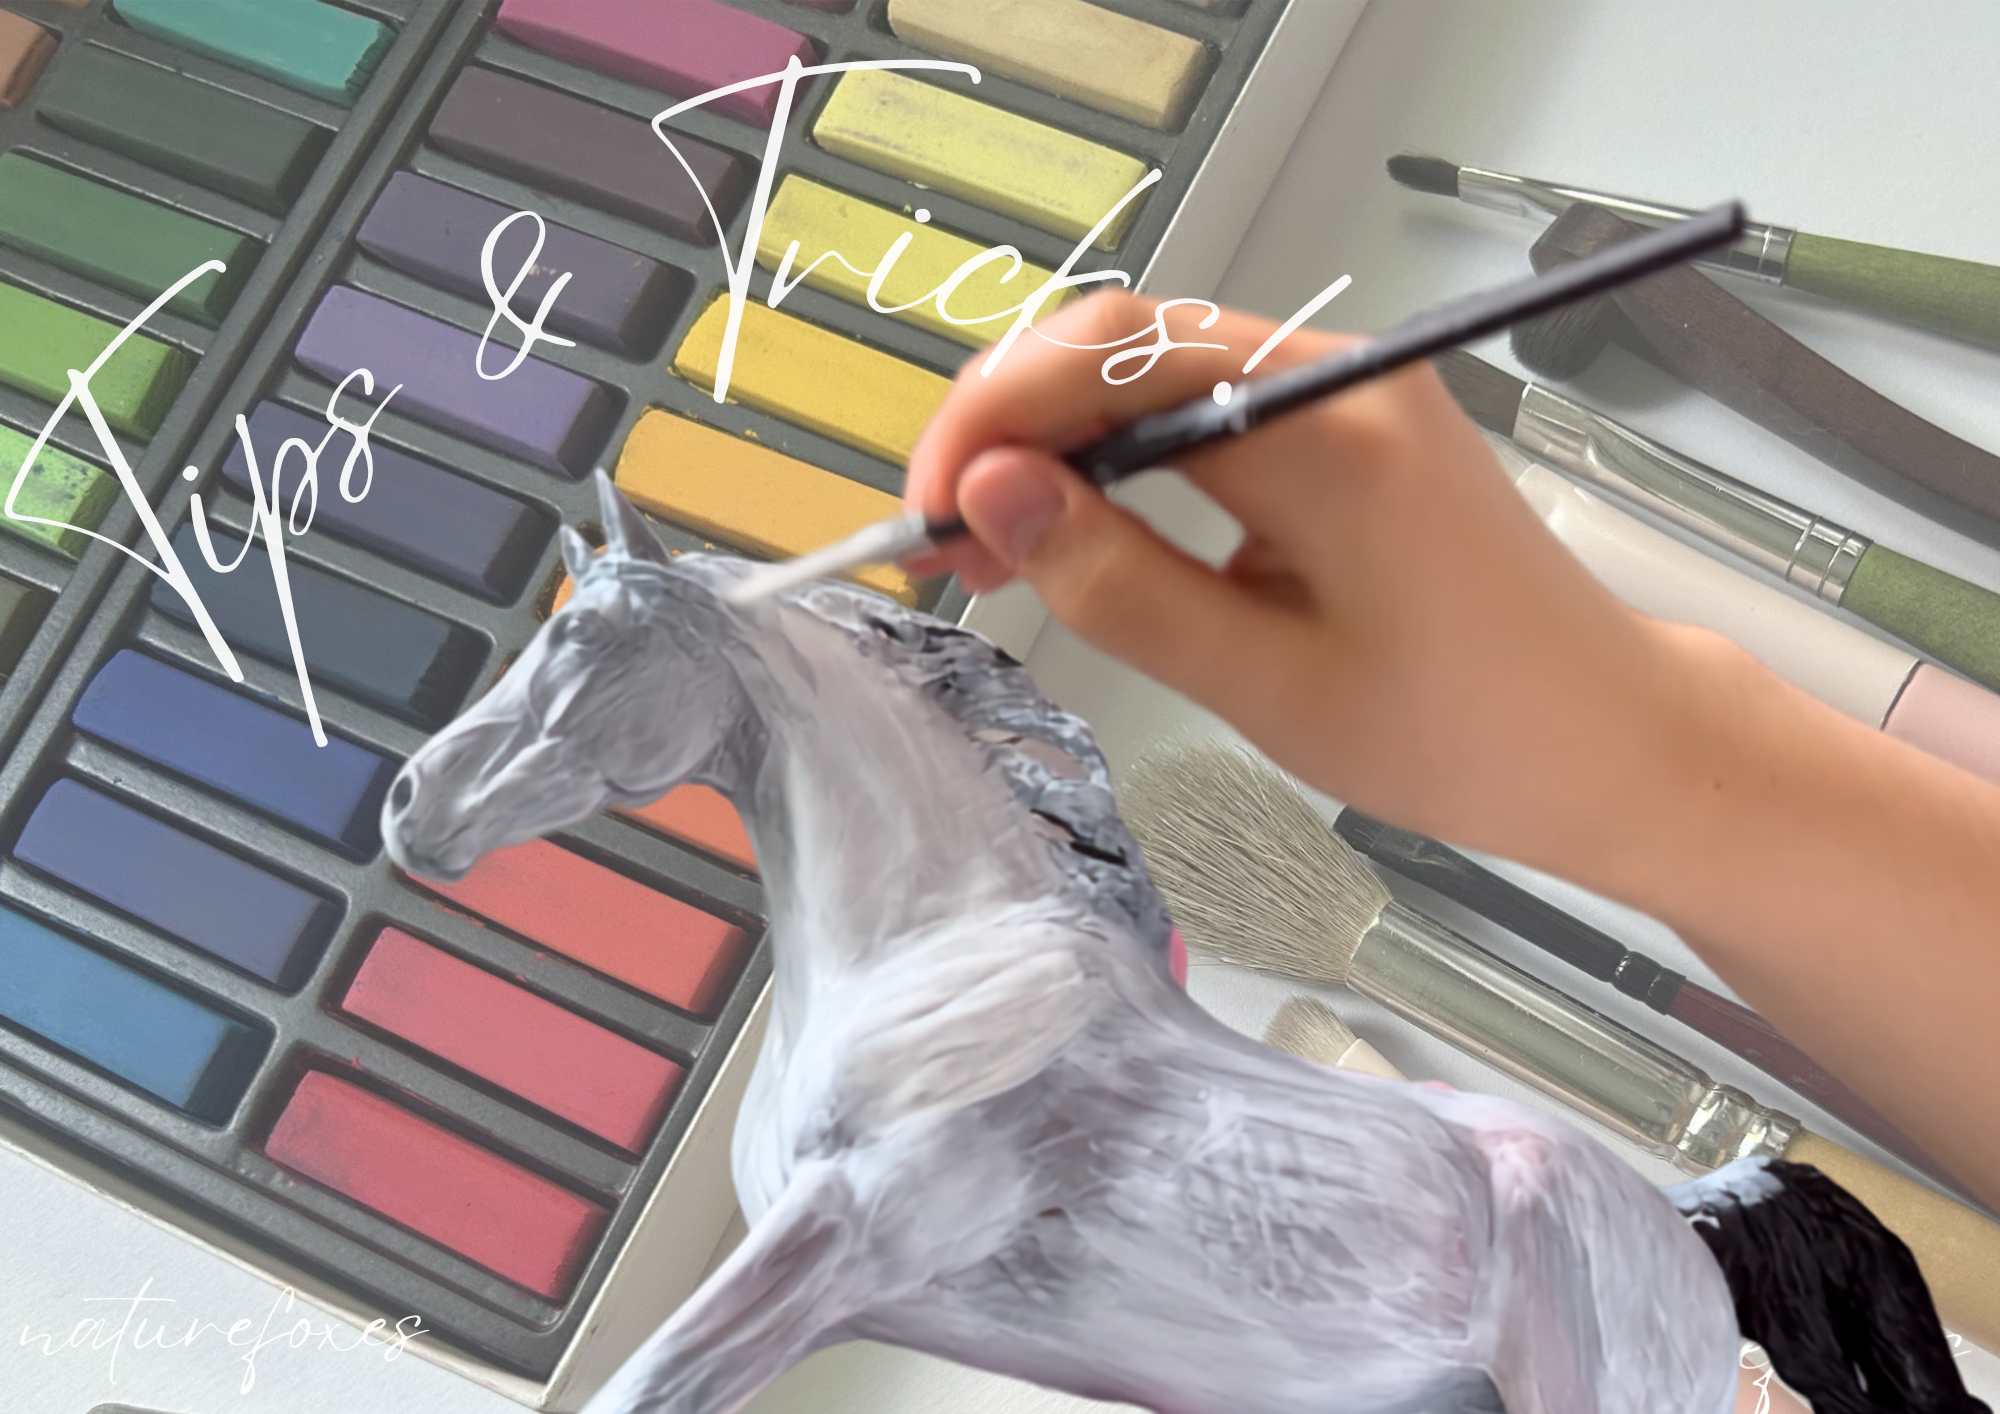
Prepping model horses with white acrylics using a paintbrush often proves to be difficult. No matter how washed down your layers of white are, you still see odd strokes when you lift your paintbrush. Well, the answer to that problem is not “Add more water.” In fact, you can get away with thicker acrylic layers if you lift your paintbrush in the right spots. To get the layers of white to dry with a beautiful finish and to not have paintbrush streaks, it is best to lift your paintbrush off the model in areas with muscle definition. Places where the muscle groups connect are great for visually masking the opacity differences in your paint. Those areas are already separate parts of the horse, so it is easier to transition from less layers to more layers of white. It is kind of a visual trick, but something I have always done and has helped especially with my newest project: my first traditional scale Breyer custom!
Use an xacto knife/ hobby knife to scrape off excess sealant from your horses hooves. I paint and finish off the hooves of my customs last, so I will often come in and remove any excess sealant that has dried inappropriately on the hooves.
Something I have experienced recently is that certain kinds of glue tend to “melt” resin. When you are making repairs on your model horse resins and inserting wire, make sure not to press too hard on the glued together pieces. I’ve learned the hard way that if the resin starts to dissolve you will very quickly end up pressing too hard and essentially “melting down” areas of the sculpture. It just becomes an unwanted mess and it also ruins the length of legs for example, so don’t press hard and use an appropriate glue for the job.
Surprisingly, when painting very thin hairing details, a big brush with a thin point is more suitable than a tiny brush. The larger brush holds more moisture and allows the paint to have a better flow whilst offering a longer painting time before you have to come back for more water. I also find it moves more smoothly on the coat, instead of getting stuck every few strokes. And yes, you will get the same hairing results, if not better, when you use a big brush with a really thin and pointy end.
What are the only paint colors you need to paint almost any coat color? I paint almost any coat color only using these paint colors; raw sienna, burnt umber, grey, black, white, ocher, burnt sienna, and blue. It’s the easiest recipe to a vast range of coat color possibilities!
I hope you found this post helpful for your next model horse customizing session!
You can sign up to my newsletter at the bottom of every page, and don’t forget to check out these links!
My shop: https://naturefoxes.com/shop
YouTube channel: https://www.youtube.com/@naturefoxes_IrinaS
Instagram: https://www.instagram.com/irinas_naturefoxes
Pinterest: https://pinterest.com/IrinaSnaturefoxes
